
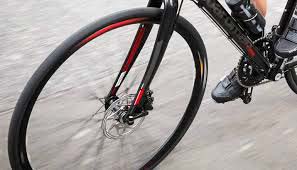
Tubeless tires on bikes have become increasingly popular due to their ability to resist punctures and provide a smoother ride. With no need for inner tubes, these tires offer improved traction and reduced chances of flat tires.
The use of sealant within the tire also aids in quick self-repair of small punctures. This technology has gained traction among mountain bikers and road cyclists alike, as it enhances performance and durability. Tubeless tires eliminate the risk of pinch flats, and the lower tire pressure they allow for offers improved grip and comfort.
Overall, bikes with tubeless tires provide a more efficient and reliable riding experience.
Choosing The Right Tubeless Setup
When it comes to choosing the right tubeless setup for your bike, there are a few key factors to consider. One of the most important decisions you will need to make is selecting the right tires and rims. Getting the right combination can significantly impact the performance and reliability of your tubeless system. Here’s a breakdown to help guide you through the process.
Tire Selection
When selecting tubeless tires for your bike, it’s crucial to choose models specifically designed for tubeless use. Look for tires marked as “Tubeless Ready” or “Tubeless Compatible.” These tires have a special bead and casing that creates a tight seal on the rim, reducing the risk of air loss and burping. Additionally, consider the desired tire width, tread pattern, and durability based on your riding style and terrain.
Rim Selection
Choosing the right rims for your tubeless setup is equally important. Look for rims that are tubeless-ready, with a tight bead seat and a sealed rim bed. It’s essential to ensure that the rim and tire combination creates a secure seal to prevent air leakage. Consider the internal width of the rim to match the desired tire width, as this can affect the tire’s profile and performance.
Tubeless Tire Installation
Tubless tire installation is an important process that requires attention to detail in order to ensure a smooth and safe riding experience. Proper installation involves preparing the wheel, mounting the tire, and sealing the tire. Let’s delve into each step to understand the process better.
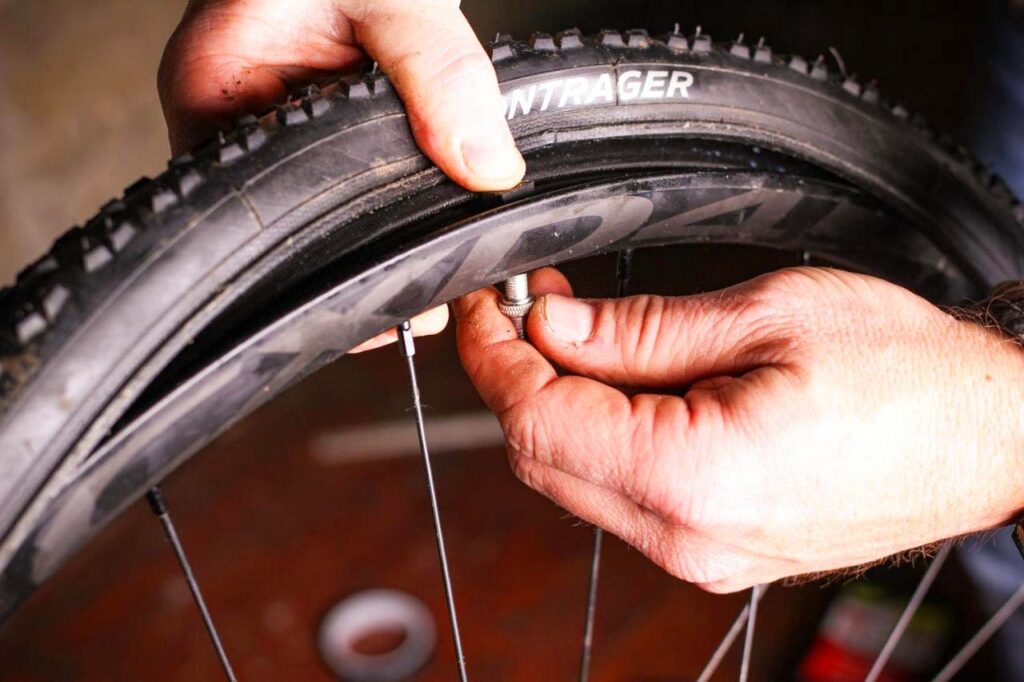
Preparing The Wheel
Before mounting a tubeless tire, it’s crucial to prepare the wheel properly. Clean the wheel rim thoroughly to remove any dirt or debris that could interfere with the tire’s seal. Inspect the rim tape to ensure it’s in good condition and replace it if necessary. Additionally, check the valve stem for any damage and ensure it is securely in place.
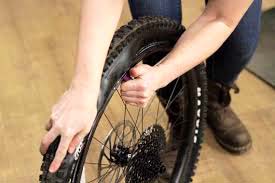
Mounting The Tire
Mounting a tubeless tire requires attention to detail to ensure a secure fit. Start by aligning the tire’s label with the valve stem and then work the tire onto the rim using tire levers if necessary. Ensure the tire bead sits evenly on the rim to prevent any potential leaks. Carefully inspect the tire to verify that it’s mounted securely and evenly around the entire wheel.
Sealing The Tire
After mounting the tire, it’s time to seal it to prevent air from escaping. Use a suitable sealant and inject it into the tire through the valve stem. Rotate the wheel to distribute the sealant evenly inside the tire. Once the sealant is in place, inflate the tire to the recommended pressure and give it a spin to ensure the sealant spreads comprehensively and seals any potential leaks.
Maintaining Tubeless Tires
When it comes to maintaining tubeless tires on your bike, proper care and attention are crucial to ensure optimal performance and longevity. By regularly checking tire pressure, inspecting for damage, and replacing sealant, you can keep your tubeless tires in great condition and enjoy a smooth, hassle-free ride.
Checking Tire Pressure
Regularly checking the tire pressure on your bike is essential for a safe and comfortable ride. Incorrect tire pressure can affect traction, control, and overall performance. To check the tire pressure of your tubeless tires, follow these steps:
- Use a digital pressure gauge designed for bike tires.
- Remove the valve cap from the valve stem.
- Press the pressure gauge firmly onto the valve stem.
- Read the pressure displayed on the gauge.
- If the pressure is too low, add air using a floor pump or an air compressor.
- If the pressure is too high, release air by pressing the valve core with a small tool or your finger.
- Once the correct pressure is reached, replace the valve cap.
Inspecting For Damage
Regularly inspecting your tubeless tires for damage is crucial to prevent flats and ensure a safe ride. Here’s what you should look out for:
- Check the tread for any cuts, punctures, or excessive wear.
- Inspect the sidewalls for any cracks, bulges, or other signs of damage.
- Look for any sealant leakage around the valve stem or tire bead.
- Ensure that no debris, thorns, or foreign objects are embedded in the tire.
- If you notice any damage or issues, address them promptly. Replace the tire if necessary or apply a patch to repair small punctures.
Replacing Sealant
Sealant is an important component of tubeless tires as it helps seal punctures and maintains tire pressure. Over time, the sealant can dry out or lose effectiveness, so periodic replacement is necessary. Follow these steps to replace the sealant:
- Deflate the tire completely.
- Remove the valve core using a valve core removal tool.
- Pour the old sealant out of the tire, ensuring it is disposed of properly.
- Shake the new sealant bottle well to mix any settling particles.
- Pour the recommended amount of sealant into the tire through the valve stem.
- Reinstall the valve core and tighten it securely.
- Inflate the tire to the recommended pressure and give it a couple of spins to distribute the sealant.
- Check for any leaks and make a note to recheck the tire pressure after a few hours of riding.
Fixing Tubeless Tire Punctures
Dealing with a puncture during a bike ride can be frustrating, but with tubeless tires, fixing the issue can be an easier and quicker process. Tubeless tires are becoming increasingly popular among cyclists due to their ability to reduce flats, improve traction, and provide a smoother ride. In this guide, we’ll walk you through the steps of fixing tubeless tire punctures to keep you rolling smoothly on your bike adventure.
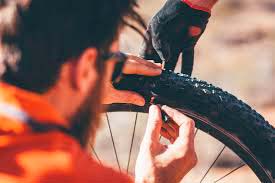
Removing The Object
When you realize your tubeless tire has been punctured, the first step is to locate and remove the foreign object that caused the puncture. Carefully inspect the tire to identify any visible objects like thorns, small nails, or pieces of glass. Take caution when removing the object to avoid injuring yourself or damaging the tire further.
Using Tire Plugs
If the puncture is relatively small and doesn’t require extensive patching, using tire plugs can be a simple solution to get you back on the road quickly. Tire plugs are small, sticky ropes made of vulcanized rubber that are inserted into the puncture hole. They act as temporary seals, preventing air from escaping and allowing you to continue your ride.
Here’s a step-by-step guide on how to use tire plugs:
- Prepare the tire plug kit, which typically includes the necessary tools such as plugs and a insertion tool.
- Locate the puncture on the tire and clean the area around it using a cloth or a small brush to remove any debris.
- Take a tire plug and insert it into the insertion tool, leaving a small portion of the plug exposed.
- Position the tool with the plug at the puncture site and push the plug into the hole firmly. Slowly and steadily, withdraw the tool, leaving the plug in place. The plug should provide an airtight seal.
- Trim any excess plug sticking out from the tire using a pair of scissors or a knife, ensuring it is flush with the tire’s surface.
- Reinflate the tire to the recommended pressure and check for any leaks. If the plug is properly inserted, the tire should hold air without any leakage.
Applying Sealant
Another effective method to fix tubeless tire punctures is by using sealant. Sealant is a liquid compound that is added to the tire to seal punctures and prevent air leakage. Here’s how you can apply sealant:
– Deflate the tire completely by removing the valve core with the help of a valve core remover or a small wrench.
– Shake the sealant bottle well to ensure the mixture is properly mixed.
– Using a syringe or the provided applicator, inject the appropriate amount of sealant into the tire.
– Rotate the wheel briskly, ensuring the sealant is distributed evenly throughout the tire.
– Reinstall the valve core tightly and reinflate the tire to the recommended pressure.
– Leave the tire suspended for a few minutes to allow the sealant to seal any punctures. Check for and fix any remaining leaks if necessary.
Remember, tire plugs and sealant offer temporary solutions and should be inspected and serviced by a professional bike mechanic as soon as possible. These quick fixes are intended to get you home or to a bike repair shop safely.
Tubeless Tire Troubleshooting
With the growing popularity of tubeless tires among cyclists, it’s important to know how to troubleshoot any issues that may arise. This guide will walk you through three common problems and their solutions: sealant drying out, burping air from the tire, and re-taping the rim.
Sealant Drying Out
One common problem with tubeless tires is the sealant drying out over time. This can lead to decreased performance and the potential for punctures. To solve this issue, follow these steps:
- Check the sealant level: Remove the valve core and use a syringe to inject fresh sealant into the tire. The recommended amount varies depending on the tire size.
- Rotate the tire: After injecting the sealant, spin the wheel to evenly distribute it throughout the tire. This helps seal any small punctures or leaks.
- Monitor regularly: Keep an eye on the sealant level and make sure to top it up when necessary. It’s also a good idea to periodically inspect the tire for any larger punctures that may require patching.
Burping Air From Tire
Burping is a term used to describe the sudden release of air from a tubeless tire. This can happen when the tire compresses against an obstacle, causing the bead to briefly lose contact with the rim and allowing air to escape. To prevent burping, follow these steps:
- Check tire pressure: Ensure that the tire is properly inflated to the recommended pressure. Under-inflated tires are more prone to burping.
- Choose your line wisely: Try to avoid hitting obstacles like rocks or roots at high speeds, as this increases the risk of burping. Plan your route ahead to anticipate any challenging terrain.
- Consider wider rims: In some cases, switching to wider rims can help improve the stability and support of the tire, reducing the likelihood of burping.
Re-taping The Rim
If you notice air leaking from the rim or the tire not sealing properly, it may be time to re-tape the rim. Follow these steps to ensure a secure and airtight seal:
- Remove the tire: Take the tire off the rim carefully, making sure not to damage the tape.
- Clean the rim: Use rubbing alcohol and a clean cloth to thoroughly clean the rim surface. Make sure all dirt and residue are removed.
- Apply new tape: Measure the rim circumference, then cut a suitable length of tubeless rim tape. Start at the valve hole and apply the tape evenly around the rim, ensuring it covers the spoke holes entirely.
- Press and trim: Use a plastic tire lever or your thumb to press the tape firmly onto the rim, ensuring it adheres properly. Trim any excess tape for a clean finish.
- Re-install the tire: Carefully mount the tire back onto the rim, making sure the bead is seated evenly. Inflate the tire, and check for any air leaks.
Frequently Asked Questions For Bikes With Tubeless Tires
Are Bikes With Tubeless Tires Better Than Bikes With Tube Tires?
Bikes with tubeless tires offer better puncture resistance, improved traction, and a smoother ride compared to bikes with tube tires.
How Do Tubeless Tires Work On A Bike?
Tubeless tires use a sealant and an airtight rim to create an airtight system, eliminating the need for an inner tube. The sealant seals any punctures automatically while riding.
Are Tubeless Tires Worth The Extra Cost?
Yes, tubeless tires are worth the extra cost. They provide a more comfortable ride, lower rolling resistance, and reduce the risk of flats, saving you time and money in the long run.
Conclusion
Bikes with tubeless tires offer numerous advantages for riders of all skill levels. With their ability to provide a smoother ride, improved traction, and enhanced puncture resistance, these tires are a game-changer in the cycling world. They not only enhance the overall performance and safety of the bike, but they also reduce the hassle of flat tires.
Whether you’re a casual rider or a pro cyclist, it’s worth considering upgrading to tubeless tires for a superior riding experience.
